
Instructions for one lemon.
Materials - Yellow felt (about 15cm square), scrap of green wool, needle, thread, stuffing, sewing machine

From yellow felt cut 3 pieces of the basic template shape.

Place 2 of these pieces on top of each other & then stitch down one side from one point to the other.
Add the 3rd piece and stitch in place down one side. Then stitch the final seam to create a 3-piece 'ball' remembering to leave a 2-3cm opening at one point (where all the seams meet) for turning right side out & to stuff.

Turn lemon right side out and fill with stuffing. Then hand stitch the hole closed.
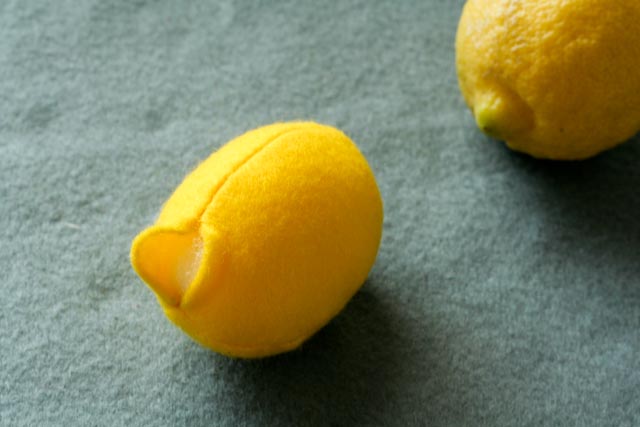
Next form the 'nobbly' bit you often find at the end of a lemon (no scientific name like 'calyx' this time!) using needle & thread. Hand stitch a running stitch around the lemon about 1.5cm from one pointy end and then pull the thread up to gather the felt to a rounded point like you can see below. Once happy with the amount of gathering secure off the thread with a small knot. Then at this same end of the lemon, & using a double thread, make a few small stitches at the very point of the lemon & then take the needle & thread through all the way to the opposite point. Pull the thread just enough to get a slight dimple at each point. Secure with a few more stitches & cut off.

At the opposite end of the lemon add a touch of green - I tied a knot in a small piece of green wool & then cut off the ends to essentially leave just the knot. Hand stitch this small knot in place like in the picture below
