Saturday, 11 June 2011

Organised...Disaster

 I've been needing some new ribbon for a while, for embellishing cards, making some more taggy baby toys and no doubt many other projects I am yet to think of.  Scouting around Spotlight I chanced upon a whole 3 racks of  clearance ribbons by the spool, only 70c each, so I stocked up.


Looking at the state of my current messy ball of existing ribbons, and with my need for order I decided to fashion a ribbon box to keep these ribbon spools mess free.  I'd seen something along these lines a while back in a craft magazine, but that was much fancier than what I had in mind.  A cardboard takeaway box that I'd been keeping for goodness knows what was finally put to use.  3mm wide spools along one side, 10mm spool along the other and holes made to thread the ribbon through.  A bit of prettiness stuck to the top of the box and hey presto, ribbon box complete!


..... And then....
.... Disaster Struck.... 

Disaster in the name of Little Imp.  
My fault really, leaving the box within reach, but oh what a tangled mess!


Basic 'How To':
  • Find a box that snugly fits all the spools of ribbon you have either in one row or two
  • Using a sharp implement poke/cut holes enough to match the number of spools in the box 
  • Then poke through the ribbon from the end of spool and place the spools side by side in the box 
  • This will leave you with a small piece of each ribbon sticking out each hole ready to unravel without tangle

ps. if you too have a Little Imp you might want to work out a way of securing the lid of your box better than I did first time around!

Wednesday, 8 June 2011

Preserving olives

Maybe I need a new category, one to encompass food related topics, another 'C'... Culinary perhaps?

We have an olive tree in our yard & last year I gave preserving olives a go.  Trawled the internet & some old home style magazines for instructions on the preserving process.  I hadn't realised an edible olive takes so long to create!  I bottled them just before Little Imp was born and it wasn't until Christmas, 8-months later, that they tasted good enough to eat.

This year Gnarled Trunk initiated the picking and preparing of the olives for bottling and we preserved on a bigger scale after the success of last year's batch.  Guess what you are all getting for Christmas peoples!


Recipe:
I mixed together different bits from a number of recipes to end up with a fairly environmentally friendly method (not too much salty water wasted) as follows. 
  • Pick enough olives to fit into container of choice. I picked them when black (mid April in Perth). 
  • Sterilise 3 sewing pins & poke them through a small piece of Styrofoam, then prick each olive with this contraption a few times (beats using a single pin to prick, prick, prick, prick).
  • Cover olives with water & weigh down with dinner plate or similar to keep all olives submerged.
  • Change water daily for 2 weeks. 
  • Over the 3rd week, add a few tablespoons of dissolved salt for each litre of water in the container.  Continue to change this water/salt solution daily.
  • The olives are likely to still taste pretty bitter at this point, but are ready to be bottled

Bottling - 
  • Make sure you have nice clean jars for bottling
  • Pack olives into each jar (firmly so they don’t float up too easily when add vinegar solution)
  • Make up a solution with the ration of  ¾ cup warm water, 2.5 tbs salt and ¼ cup white wine vinegar, stir to dissolve as much salt as possible. (the amount of salt needed will vary dependant on how salty your water already is (a 1997 Gardening Australia magazine suggested to work this out by making a brine using enough salt to make a fresh egg just float under the water's surface).
  • Pour enough of this brine &  vinegar solution into each jar to cover the olives.
  • Pour over a layer of olive oil to prevent the olives on the top drying out & screw lid onto jar.
  • Leave the olives to soak for at least 4/5 months & then test to see if they are edible.
  • To prepare for eating rinse off brine & then leave olives in fresh water in the fridge for a day or 2, changing the water every 24 hours.
  • Add flavouring such as chilli, garlic, lemon, crushed coriander or fennel seeds, whatever you desire or have in the pantry & enjoy!

Monday, 6 June 2011

Nature Ranger

Gnarled Trunk (Husband) proudly led me to see the blooming roses in the front garden this afternoon and I then got a bit carried away with the camera. Made a wonderful contrast to yesterday's mammoth task of beginning our extension, jackhammer-time pounding for most of the morning to dismantle the patio concrete and relocate it into the old swimming pool pit in the backyard.


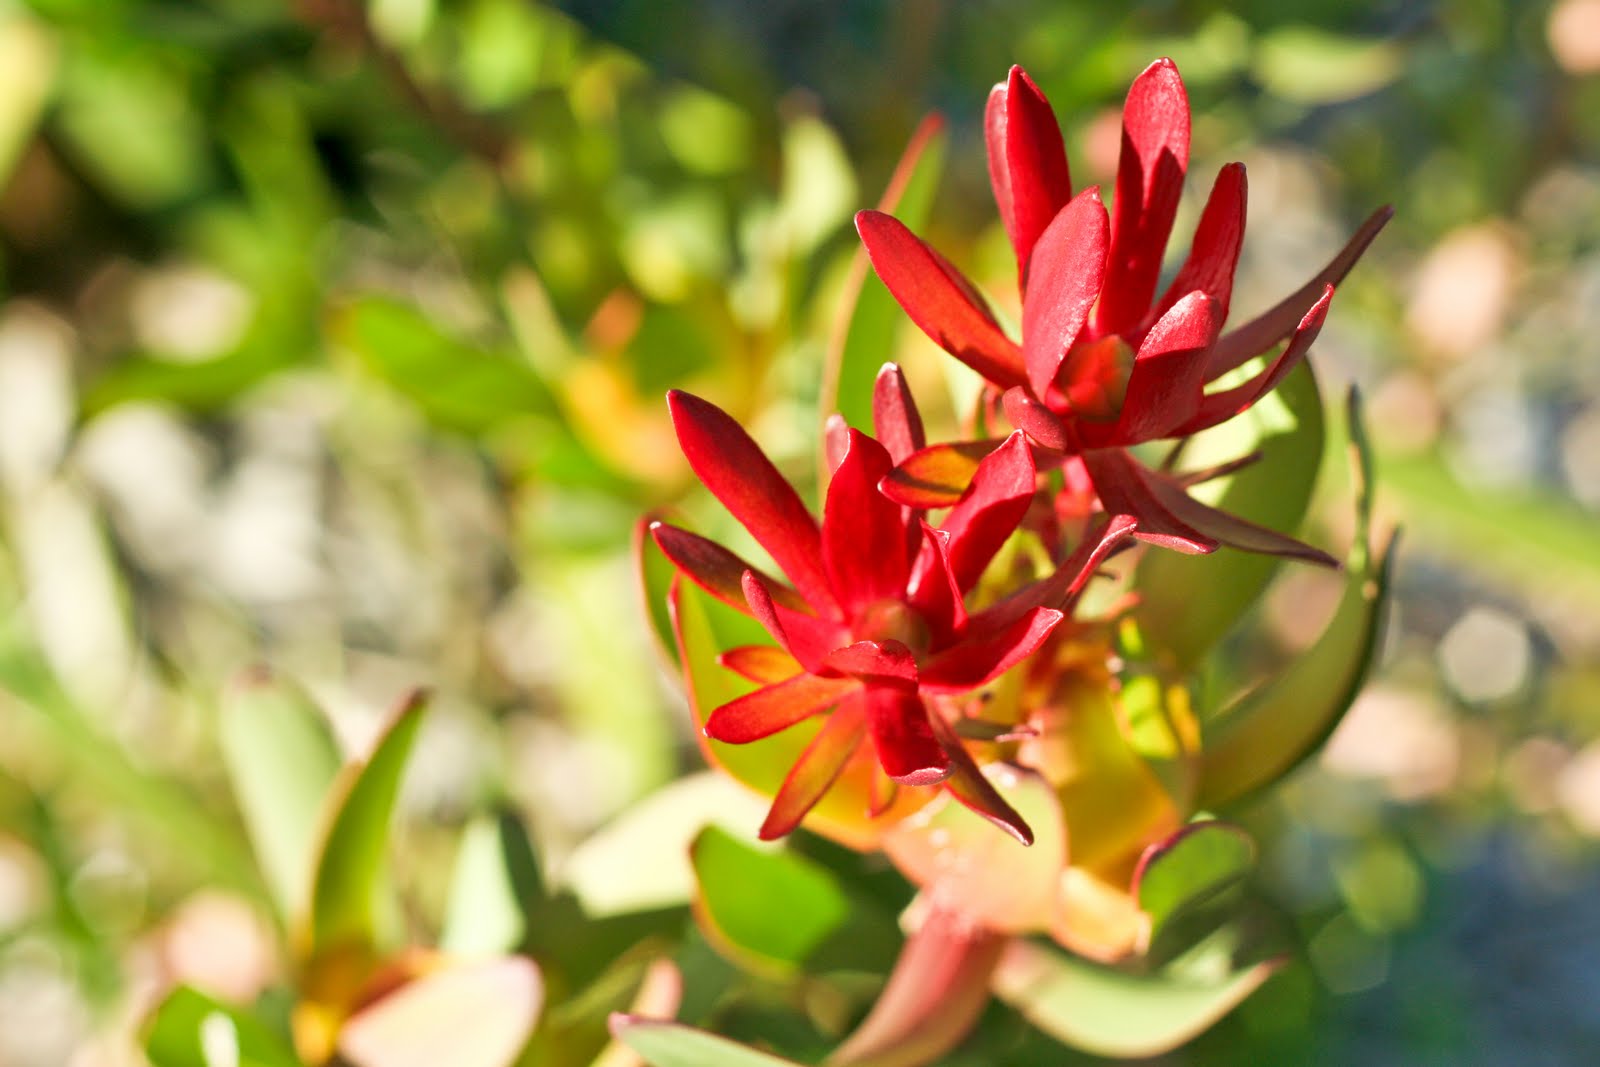
When I was little-er I thought I might become an entomoligist when I grew up.  My love for all creatures great & small (except for cockroaches that is) earned me the nickname of Nature Ranger.  Today the bug-loving Nature Ranger in me today couldn't help but not just see the kangaroo paws in the front garden but also the teeny tiny ants harvesting their pollen.


Friday, 3 June 2011

The first passionfruit

Hiding away between the leaves of the passionfruit vine the first fruit has been spotted - and it is a big one!

Finally, the Eye Spy quilt is complete

A friend's little one had an 'eye spy' quilt that looked like so much fun I asked mum to make one for Little Imp.  She agreed, but left it up to me to begin to collect fun bits of fabric to use in the quilt.  It didn't take long for me to become hooked with all the beautiful fabrics I found on line and, with a bit of encouragement from mum, I decided I'd try my hand at piecing together a quilt myself.

The design of the quilt took shape as I gathered all the fabric pieces, and I ended up using a central plain colour square surrounded by 8 coordinating picture fabric squares to make up each block.
The process of working out which part of each fabric would be the most fun to use, and the ordered process of rotary cutting appealed to methodical me, but the part I really enjoyed was playing around with all the fabric squares to create a layout that I was happy to look at.  A layout where adjoining colours worked together and any fabric doubles were far enough apart not to be noticeable.  I spent hours just playing!
One of many trial layouts
 The end result, a 4x4 layout of blocks, quilting around each block in purple and around each central coloured square in matching colour thread.  As you can see, Little Imp isn't quite at the right age just yet to appreciate the 'eye-spy' feature of the quilt.  Oh so interested she was in crawling all over the pieces as I was in the process of trying to design the layout, and then when I wanted a photo of her sitting on the finished product she just kept crawling away!

Thursday, 2 June 2011

Springtime flowers

There is a definite chill to the air, finally.  Winter is here and the rains have also fallen for the last few days, finally.  The plants in the garden are perking up again, and the kangaroo paws are beginning to flower. Perhaps this is what prompted the flower design of today's creation with the aim of using up some of the Suffolk Puffs I had lying around.
I discovered how to make 'Suffolk Puffs' in a craft magazine late last year, and since then have found a number of applique uses for these handy, and very quick and easy to make, little circles of fabricy-puffiness.
Springtime Flowers
Basic Tutorial:

  • Make 3 Suffolk puffs, one slightly larger than the others as follows:
    • for each puff, cut out a circle of fabric approximately 2/3rds larger than you want the finished puff to be
    • using a needle and thread, use a running stitch to sew all the way around the circle, turning over a small seam as you go 
    • pull up both ends of the thread to form a little pouch, knot ends together and then flatten fabric to create the puff.
  • Sew 3 stems onto the baby grow using straight stitch on a machine
  • Cut out 3 pieces of green fabric with 'heat and bond' ironed onto one side to create the leaves and then iron these in place
  • Machine applique the 3 leaves using a small straight stitch and stitching around each leaf twice.  Don't worry about sewing a perfectly straight edge, as long as you catch the edge all the way around to prevent excessive fraying.
  • Hand stitch the Suffolk puff 'flower' heads in place & you're done.

    Wednesday, 1 June 2011

    How many ways to use a Suffolk puff?

    I do like these quick to make little yo-yo's or Suffolk puffs as they are otherwise known, so many uses!


    Balloons floating in the breeze
    Owls in a tree of blooms
    Springtime flowers
    The wheels on my bike go round & round
    Some other Suffolk Puff ideas rattling around in my brain....ice cream in an ice cream cone... caterpillar...'bunch' of flowers, surrounded by single leaves.  Something I saw - a plain skirt with vintage fabric puffs all around the bottom edge.